Monday, August 30, 2010

This Week's Menu

Monday: Cowboy Calzones
Salad

Tuesday: Fish & Chips
Coleslaw

Wednesday: Chicken & Cashews in Lettuce Cups
Rice

Thursday: Dinner at Rachel's!!!

Friday: BBQ Southwestern Chicken Salad
Parmesan Pull Apart Bread

Saturday: Hummus Pitas
Greek Salad
Baklava

Sunday, August 29, 2010

Wicked Peach Cobbler

I have had this recipe forever! I loved the name of it because it reminded me of the musical WICKED and I love that musical. I pretend that this recipe is to made in honor of Elphaba.

I find it amusing that you are still surprised by my dorkiness.

Anyway, since I'm trying to go through all of my hundreds of recipes and find the keepers and throw away the weepers, I wanted to take this for our Thursday Dinners at my friend Rachel's house.

The ingredients:
3 1/2 lbs. medium peaches, peeled, pitted and cut into 1/4 inch slices; 1 C. sugar; 8 tsps. cornstarch; 1/2 tsp. cinnamon; 2 tsp. lemon juice; 4 Tbsp. butter, chilled and cut into small pieces. Preheat oven to 400 degrees.

Also, you will need a double-crust pie crust. You can buy one or make it. I used Pioneer Woman's pie crust recipe from her cookbook because it's super easy to make and it's so light and flaky.
I love peaches. They are one of the most beautiful fruits. Look at all the different shades of yellows, oranges and reds. Ugh! I love them!
Take your beautiful peaches and cut into them all the way around their diameter.
They should split open evenly in half. Then look at all the beautiful colors on the inside too!
Excuse me for a second, I need to go eat a peach right this second.


Ok. I'm back. I feel better.

Now, cut the peaches into slices.
Then cut off the skin. I just cut if off the wedges. If you know of a faster way of taking the skin off of peaches, then by all means, go for it!
Toss them all into a medium mixing bowl.
Then, add your 8 tsp. of cornstarch. Or 2 Tbsp. and 2 tsp. of cornstarch. However you'd like to do your math.
Add the cinnamon.
And the sugar.
And the lemon juice.
Stir! Stir! Stir!
Take your chilled butter...
and cut it into small pieces.
Add that to the peach mixture and stir again.
Take an 8x8 baking dish and spray it with cooking spray. Then put half of the peach mixture into the dish.
Roll out an 8x8 square of the pie crust and place it on top of the peach mixture.
Then dump the rest of the peach mixture on top of the pie crust.
Take the rest of the dough and put it on top of the peaches. Pinch any excess crust onto the sides of the dish.
Cut some slices into the crust so the cobbler can breathe in the oven for goodness sakes!
Place the dish on a cookie sheet in case of any spillage. Cook for 30 minutes and then turn the oven down to 375 degrees and bake another 10 minutes.
It's done. Mmm....it smells sooooo good.
Sprinkle cinnamon on the still piping hot cobbler. Then, wait 7 hours to eat it!!!! I'm just joking, you don't have to wait 7 hours. I had to wait 7 hours because I made it for dinner and it was the afternoon when I made it. It was tempting me greatly, though.
Here it is!
We warmed it up and everyone liked it! Everyone except Elisabeth who asked me not to put pie crust on it next time (the girl hates pie crust). It was the perfect sweetness with a bit of tart. The crust was PERFECT. I will most definitely be making this again!!!! (Oh, and I'll be doubling it if I have to make it for so many people again. There was much sadness that there were no seconds.)

Friday, August 27, 2010

Roman Style Fettuccine with Chicken


She makes such extravagant meals. And, though I love her meals (most of the time), I sometimes think, "Ugh! I don't have time for you and your long, fancy ingredient list!"

But, I have waited and waited to make this meal. I kept looking at it in her cookbook "Everyday Pasta" and being tempted. I finally gave in and made it.

I should have made it ages ago!!!!

The ingredients:
1/4 C. olive oil; 3lbs. boneless skinless chicken; salt and pepper; 1 red bell pepper, cored, seeded and sliced; 1 yellow bell pepper also cored, seeded and sliced; 3 oz. prosciutto, chopped; 2 garlic cloves, chopped; 1 (14.5 oz) can diced tomatoes, with juice; 1/2 C. dry white wine; thyme; oregano; 1/2 C. chicken broth; 1 box of fettuccine; 2 Tbsp. drained capers; parsley.

I forgot to put the chicken in the ingredients picture. She asks for 2 chicken thighs and 4 chicken breasts in her recipe, but I had a lot of chicken thighs, so I lived on the wild side and only used thighs. I'm so rebellious.
This is Prosciutto. It's actually the main reason I kept putting off this recipe. You see, it cost $6.99 for 4oz. And, for someone on a shopping budget, that's a lot of moola for very little meat. But, I bit the bullet and bought it at the fabulous Sunflower Market. My normal grocery store does not sell such fine meat products.
Start by heating some oil over medium-high heat and throwing in your peppers. I have sliced up peppers in little baggies in my freezer (because I'm a dork...but a smart dork), so I just threw in a bag of yellow and a bag of red peppers. Easy peasy.
Take the prosciutto (which is paper thin! Look at it! You can see my fingers through it!)

And chop it.
Add it to the peppers. You're going to cook the peppers and the prosciutto until they all brown and the prosciutto is a bit crisp.
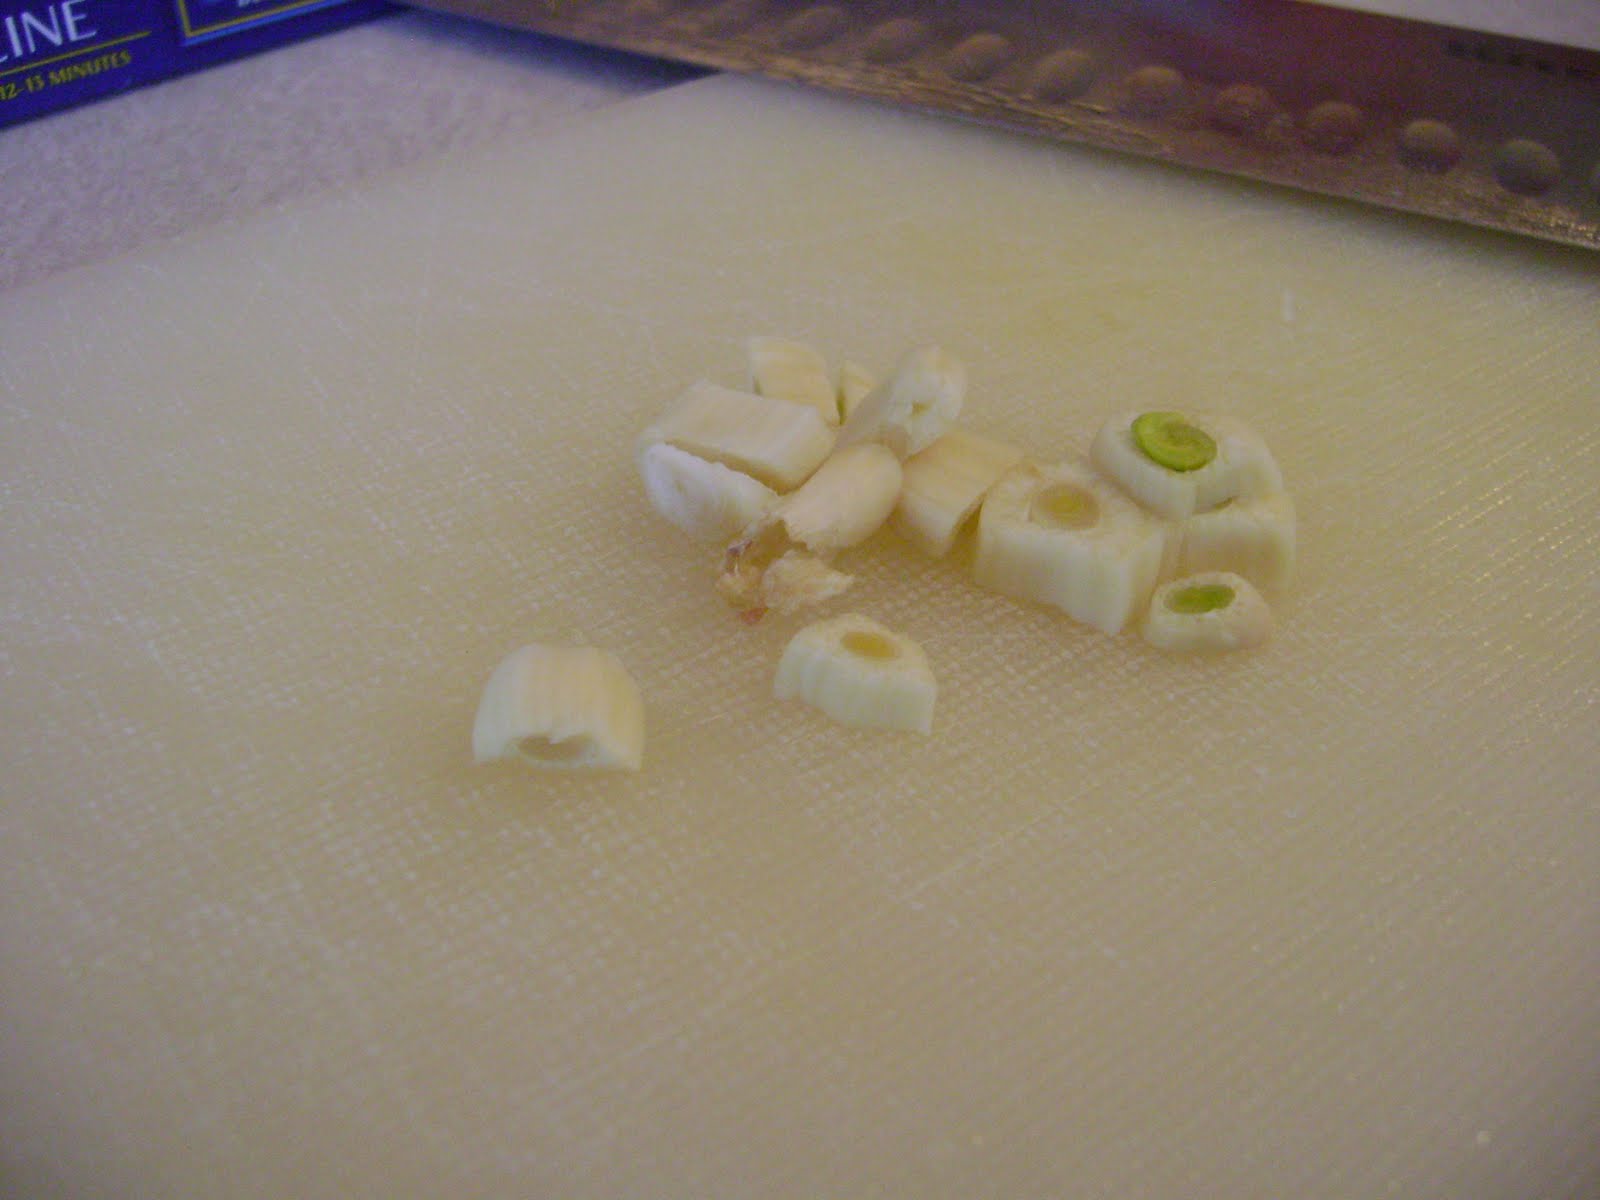
Then take your garlic that is starting to sprout, but it's not a big deal, so don't freak out...
and chop it up. Add it to the skillet and cook for a minute.
Add the diced tomatoes, juice and all!
Then add the wine,
the oregano (which, if you have fresh, you'll need 1 tsp. chopped, but if you have dried, a smidge)...
the thyme (which, if you have fresh, you should use 1 Tbsp. chopped, but if you have dried, a big smidge) and stir all together. Make sure and scrape up any brown bits stuck to the bottom.
Now, add the chicken back to the skillet.
Add the chicken broth and bring to a boil. Once it's boiling, reduce the heat and cover the skillet. Let it all simmer together into a heavenly deliciousness for 30 minutes.
While the sauce and chicken are simmering, boil some salted water and add the fettuccine. Cook as directed on the box.
Once the 30 minutes of simmering is done, remove the chicken and place on a cutting board. Shred the chicken.
Then re-add it to the sauce.
Stir in the capers and the parsley (which, if you're using fresh parsley should be 1/4 C., but if you're using dried should be more like a couple of tsp.).
Stir! Stir! Stir!
Take your fettuccine and place it in a large bowl.
Take a generous scoop of the sauce and put it on top of the pasta.
This dish was delicious. Deliciously fantastic. Deliciously fantastically wonderful! Everyone ate it like it was their job. It also was much easier to cook than I thought. I would say that from preparation to eating, it took less than an hour. I loved the peppers and the spices. They complimented the meat. It all fit together perfectly. I definitely recommend trying this one out. (Oh, and if you are not interested in searching for prosciutto, it would be just as delicious without it!)

Thursday, August 26, 2010

Portobello Mushroom Sandwiches

Hi. My name is Virginia and I have a mushroom problem.

I know, I've discussed this before. But, every now and then it feels good to confess your addictions to others.

The other day while perusing The Pioneer Woman's website, I came across her Portobello-Prosciutto Burger recipe. And while her's looked divine and delicious, I remembered that I haven't made my own portobello mushroom sandwich in a very long time. So, I decided to reintroduce the beautifulness of a mushroom sandwich to my family.

The ingredients:
Hamburger buns; portobello mushrooms; roasted red peppers; swiss cheese slices; olive oil; mustards and mayonnaise. Preheat oven to 325 degrees.


Oh, portobello mushrooms. I do so love you...

Take your mushrooms and wipe them clean with a damp paper towel, otherwise your husband will complain about dirt in his sandwich. (He's so picky.)
Take your mushroom...
and break off the stems.
Then, on a baking sheet (or pizza pan, like I used) drizzle olive oil over the mushrooms and brush the oil evenly around the mushrooms.
Do both sides, please!
Good job! Now, throw them into the oven. You'll want to cook them on one side for 10 minutes and then flip them and cook for another 10 minutes.
Now, while these are cooking, you need to think about your condiments. There are lots of different things that you can use on your sandwich that would really add a complimentary flavor to the portobello mushrooms. Evan prefers spicy mustards with his. Like this one:
And sometimes this one:
I enjoy pesto with mine. Or maybe a sun dried tomato spread. Ooh, or hummus!!! Unfortunately, I had none of those in my refrigerator, so I used my trusty mayonnaise.
Look! The mushrooms are done!
See how much darker they are? But, not burned. I don't mind things with a slight crisp of burn on them, but not my mushrooms!!!
Place slices of cheese on top of the mushrooms while they are still hot. I like swiss on mine, but I've been known to use provolone or havarti or muenster cheeses as well. Not yellow cheeses, though. That's icky.
Place the mushroom on your hamburger bun. Now, this is the key ingredient to my portobello mushroom sandwiches--roasted red peppers. You can find them in the Italian food section of the grocery store and I adore them. They bring a rich flavor the the meal that is absolutely necessary, I tells ya.
Ta-da!!!
To say it was delicious is an understatement. I think that next time, I might even double up on the mushrooms in the sandwich since one of the mushrooms really deflated while cooking. It could have used another one to beef it up some.

Elisabeth was served a mushroom sandwich at this meal as well and was blown away by how good it was. You see, most small children don't think that substituting hamburger meat with a mushroom is a wise choice. She's tried a bite of our sandwiches over the years and usually make a gross face. But, now that her taste buds are a mature 7.5 years old, she's ready to appreciate the wonderfulness of mushrooms. Julia, on the other hand, not so much.

The nice thing about this meal is that you can make it totally your own. Check out Pioneer Woman's version and then experiment on your own. I promise, you will not be disappointed!!!