Thursday, November 11, 2010

Artichokes.

Most of you know my love for asparagus. There is no other vegetable that I love as much as that pretty green stalk of goodness.

But, another green veggie does come close. It's the artichoke.

In fact, I love the artichoke so much, I have this hanging in my kitchen:
(Carciofo is Italian for artichoke. I had to look it up after I bought it.)

While I do love throwing a can of artichoke hearts into pastas and other recipes, my favorite way to eat artichokes is to simply steam them.

Artichokes can be kind of pricey, depending on the time of year you buy them. I bought the artichokes pictured in this post for $1 a piece!!!! That is quite the deal.
I realize that artichokes seem to be an intimidating vegetable. Yes, each of those leaves have a little prickle at the end that can be painful, but you can always just snip off all the tips. But, I promise you, this is a delicious and easy side dish for any meal.
Take the artichokes and put them in a steamer. You can always boil them too, but we always steam ours. We steam ours for 30-45 minutes, depending on the size of the artichokes. Smaller ones only need about 30 minutes, but huge ones might need 45 minutes until they're tender.
We ate our artichoke with meatloaf. Artichokes are surprisingly filling, so when we have them, it's our only side dish.
All you do is take off each leaf...
dip it into the dipping sauce of your choice (we either have hollandaise sauce or melted butter with garlic powder and garlic sauce mixed in with the butter) (and, yes, that's my multi-vitamin)...
and then use your bottom teeth to get the artichoke "meat" off of the leaf.

Elisabeth is showing how she got all the white meat off the leaf.
Julia is too young to properly eat artichokes, but she felt left out and asked me to take a picture of her eating an apple.
Once you've eaten all of the leaves, then you're ready to eat the artichoke heart!
You take off all the little leaves that are left.
See all those pretty hairs? Those are called the artichoke's choke. It is called that because if you ate those pretty little hairs, you would...choke. It's pretty self explanatory.
So, take a knife and get off all those prickly hairs.


This is the heart. And it is the best part.
You can eat the whole thing once the choke is off.
I dip it in the sauce. Mmmm....
Elisabeth started eating artichokes with us when she was about 4. Now we have to buy her her own because she was stealing all of ours and there's nothing I hate more than someone stealing my vegetables.

Monday, November 8, 2010

This Week's Menu

Monday: Pasta & Asparagus Primavera
Applesauce

Tuesday: Chicken Breasts with lemon & capers
Barb's rice
Salad

Wednesday: Beef Soup with Vegetables
Salad

Thursday: Rachel's House!

Salad

Saturday: Stir Fry

Sunday, November 7, 2010

Ravioli with Sauteed Zucchini

I have had this recipe in my recipe book for ages. AGES!! I seriously think it was one of the first recipes I ever added to it. But, for some reason, I always forget about ravioli. Tortellini for that matter too.

Maybe it's because they're usually hiding in the freezer section?

Or maybe because my first job was at a LaGondola Spaghetti House and my most hated job was the spaghetti/ravioli station and so I have forever banned those two foods from every entering my menu planning mind?

I shall ponder this conundrum more later.

(Also, I can not even believe they have a website for LaGondola!!!! They didn't even take credit cards when I worked there 13 years ago! I still insist on eating from there every time we are back in Illinois!!! Love it!)

For now though, I need to share this recipe with you because it so flipping easy to make and was so so so good.

The ingredients:
1 lb. cheese ravioli (fresh or frozen); 2 Tbsp. olive oil; 3 small zucchini, sliced into thin half moons; Kosher salt and pepper; 2 garlic cloves, thinly sliced; 1/2 C. Parmesan cheese. Start boiling the water for the ravioli.

Start by cutting your zucchini in half.
Then thinly slice the halves. I find zucchini to be one of the prettiest vegetables, don't you? Yes, I know that's a weird thing to say. Shush.
Heat the oil in a medium skillet. Once the oil is hot, add the sliced zucchini...
1/2 tsp. of salt...
and some pepper. Sautee for 4-5 minutes.
Thinly slice those garlic cloves and add it to the zucchini, sautee-ing it for a couple of minutes.
Now, you by no means need to have to do this, but I decided to warm up some marinara sauce. Evan gets nervous when I serve pasta and there is no red sauce for him to drench the pasta in, so I just warmed up a little to drizzle on if so desired.
Oh my, look at this fabulous zucchini!!! I love zucchini. I should buy it more and add it to all my meals.
Once your water is boiling, toss in the ravioli. It should take about 5 minutes. Here's a secret I learned from working at LaGondola as a 16 year old youth--you know when ravioli is done cooking when it floats to the top. Once they're all floating, take them off the heat. If you leave them on too long after they've cooked, they start to get super soft and will fall apart. That's icky.

Pour the drained ravioli into a bowl and add the sauteed zucchini on top.
Add 1/4 C. of the cheese and stir it all together. Then, once you've gently stirred it all, add the other 1/4 C. of the cheese on top and serve.
Viola! Oh my goodness this meal was soooooo good.
I did add a little of marinara sauce to it for a few bites, but I honestly liked it better without the sauce and Evan even agreed with me. I totally fell out of my seat and broke my brain when he admitted that a pasta dish could be good without a red sauce. Miracles do happen.
The next time I make this dish (which will be soon because all of us liked it and that makes me happy), I shall probably add sauteed mushrooms to it as well.

But, you all know I have an enormous mushroom problem, so I'm sure you're not surprised.

Enjoy!

Saturday, November 6, 2010

Crust-less Pumpkin Pie

Just like her mommy, Elisabeth prefers a pie to a cake on her birthday. She is a very smart girl, I tell you!
Her favorite pie is pumpkin, but Elisabeth hates crust. She is very polite about her hatred, she'd never say no to a pie, but she won't let any crust touch her lips. So, this year for her birthday, I made her a crust-less pumpkin pie.

It was fantastically easy and would be a great dessert for anyone who dislikes crust or if you don't want to make or don't have a pie crust handy.

The ingredients:
1 1/4 C. sugar; 3 Tbsp. flour; 3 eggs; 1 can pure pumpkin; 3/4 C. evaporated milk; 1 1/2 tsp. vanilla; 1/4 tsp. cinnamon. Preheat oven to 350 degrees.

Do you see what happened when I went to take this egg out of the carton?! I put a hole in it!
I was very irritated and did what any normal person would do--when the time came to add the eggs, I took all the other eggs out of the carton, took the top of the eggshell off and dumped the egg into the mixture.

What did you say?

Normal people don't do that? Only super weirdos would be worried about wasting one little egg?

Oh. Hm. I kind of feel like you're mocking me.

Well, anyway, back to the recipe...

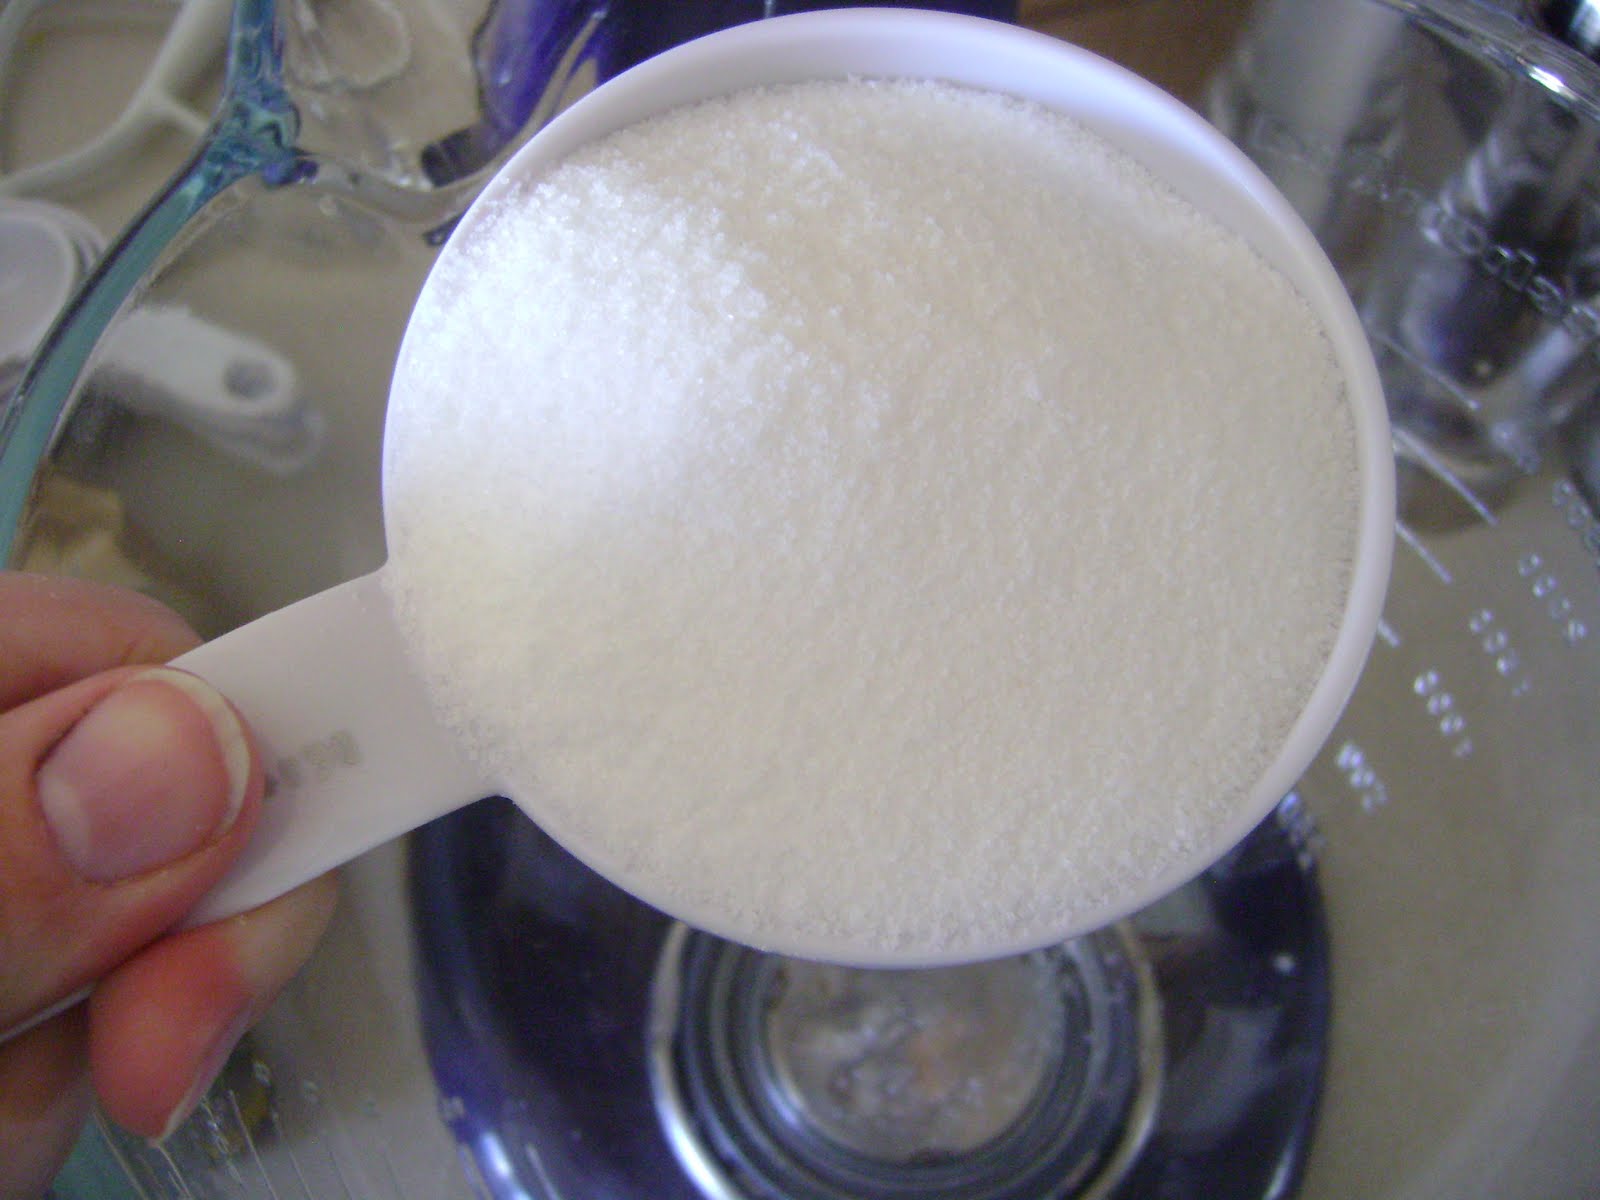
Take the sugar,
and the flour and mix them together in your mixing bowl.
Add the three eggs
and stir until well blended.
Dump in the pumpkin,
the evaporated milk,
the vanilla,
and the cinnamon.
Mix until everything is blended together.
Pour into a greased pie pan.
Now, here's an important step: You need to find either a baking sheet with raised sides or a baking dish that is 10x15 and place the pie dish in it. Pour hot (not boiling) water into the baking sheet until it is 1/2 an inch deep (or to the top of your pinkie nail, which is how I measured it). Bake for 50-55 minutes or until a knife inserted into the pie comes out clean.
Elisabeth was the most excited newly turned 8 year old in the world to have a crust-less pie. She found it delicious. I did too. I, personally, love the way the crust adds flavor and depth to pumpkin pies, but I found this crust-less version very good. Evan, however, didn't like it very much. He has a hard time with change and doesn't like people messing with his pumpkin pie. I will definitely be making this for Elisabeth's birthdays from now on, though. It was simple and very yummy!

Enjoy!

Tuesday, November 2, 2010

Cider Pork Stew

I love apples.

I love apple cider.

I love stew.

I love this recipe.

The ingredients:
2lb. boneless pork, cubed; 3 Tbsp. flour; 1 tsp. salt; 1/2 tsp. dried thyme; 1/4 tsp. black pepper; 6 carrots; 4 potatoes; 2 onions; 1 apple; 2 C. apple cider; 1 Tbsp vinegar; 1/2 C. cold water; 1/4 C. flour.

I started by slicing and dicing the apple...

the potatoes...

and then remembered to prep the pork. Doh! So, I took all the cubed pork and threw it into a large baggie...
added the 2 Tbsp. of flour...
the salt...
the thyme...
and the pepper.
I shook it all about. I did the Hokey Pokey and I turned myself around. That's what it's all about.
I then proceeded with more slicing and dicing of carrots...

and onions.

I threw all of the veggies into the crock pot and threw the seasoned pork on top. (Oh, I ended up finding 3 stalks of celery that needed to be used or thrown out soon, so I chopped them up and added them to the stew as well.)
I measured the apple cider...
and added the vinegar to the cider.
I poured it over the meat.
Cover and cook on low heat for 10-12 hours. Do not stir. I ended up adding a bit of chicken broth to it because I always worry that it'll all evaporate. I only added maybe 1 cup to the stew. Then, after the 10-12 hours, turn the crock pot to high. Blend together the water and 1/4 C. of flour. Stir into the stew. Cover and cook for 15 minutes until thickened.

I did not remember to take a picture of the finished product, but let me tell you it was delicious!!! The girls both LOVED it and we ate it as leftovers and it was even better as leftovers. It was a very rich flavor and fabulous stew. Totally perfect for a nice, cold fall day!!! We will be making it again soon.

Enjoy!