Showing posts with label vegetable. Show all posts

Wednesday, October 26, 2011

Spaghetti Squash

When I purchased this spaghetti squash at the store:

the checkout lady asked me what in the world I planned on doing with it. She said she has seen people buying them and she knows they are edible, "But...how?!"

I told her it is actually ridiculously simple and I will explain to you exactly how I explained it to her.

You take the lovely yellow squash, you give it a quick rinse and you throw it into a preheated 375 degree oven for an hour and you are done.

I know!  It's ridiculously simple, right?!

You will know it is done because a sharp knife will pierce through it like butta. That's the most important part is to make sure it is cooked through.  If you can't slice through it easily, throw it back in for another 10 minutes.

Cut the squash in half and make the comment about how it must be related to pumpkins because the insides are almost identical! (It is, in fact, related to pumpkins.)

Just like you do a pumpkin, scoop out the seeds and the gooey-ish inside.  Using a fork, you will be able to scrape the actual "meat" from the squash and it will separate like individual strands of spaghetti (hence the name). The scraping is the most time consuming part, just to warn you.

Once you have scraped out all the spaghetti squash, throw it onto a skillet over medium-high heat. Toss in some butter (about 2-3 Tbsp, depending on amount of squash), a couple of minced garlic cloves, salt, pepper and some fresh parsley or basil (about 1/4 C).  Give it a good stir and make sure it's all heated together.

Throw it all into a serving bowl and add some parmesan cheese on top (about 1/4 C or so) and stir it until the cheese has melted into the squash.  

I served ours with a salad because spaghetti squash is quite filling.

  My children were leery of the name, but both girls loved it.  Julia ate all of hers and she is 3.  It's supposed to have some crisp crunch to it, so don't be alarmed by the texture.  It's a lovely fall meal and you should definitely go out and try it (especially while they are in season and so cheap at the stores!).

Enjoy!


Wednesday, November 17, 2010

Zucchini Bread

I love zucchini bread. It is moist, delicious and cinnamon-y.

But, in order to make zucchini bread I have to 1.remember to buy the stupid zucchini and 2.love my family enough to grate said zucchini.

I hate grating. It makes my hands hurt. Am I the only one who feels this way? Do I have early arthritis?!?! I shall ponder this....


The ingredients:
3 eggs; 1 tsp. salt; 3 tsp. cinnamon; 3 C. flour; 1 tsp. baking soda; 2 C. sugar; 1/4 tsp. baking powder; 1 C. oil; 1/2 tsp. nutmeg; 2 C. peeled and grated zucchini. Preheat oven to 325 degrees.

I had an ENORMOUS zucchini from a friend's garden that I was using to make some soup and I only needed a little less than half of the ENORMOUS zucchini. Not wanting to waste precious zucchini, I decided that I loved my family enough to grate zucchini and make them bread.

I'm such a good person.

First, you peel the zucchini. I just use a vegetable peeler.
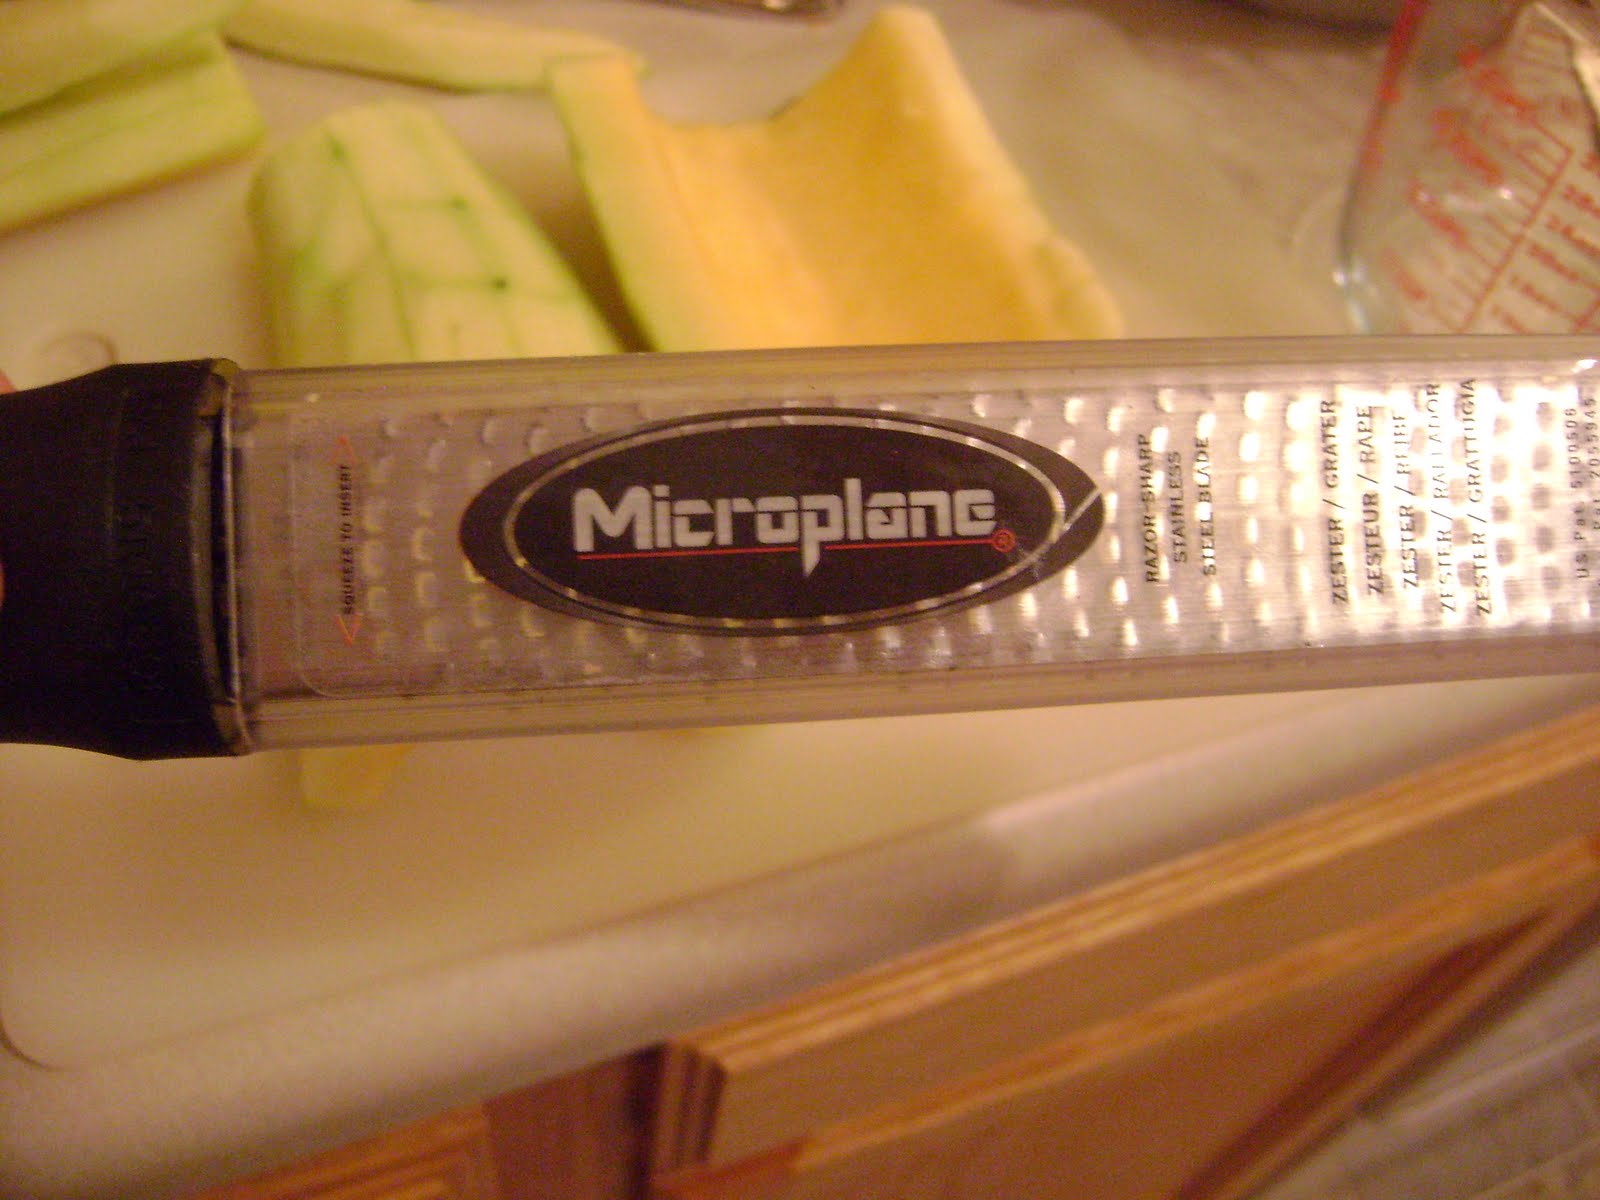
Then you get out this fabulous birthday gift from your mother-in-law. Microplanes are a fabulous kitchen tool that I totally recommend you have on hand. But, please please please be careful. I do not want you accidentally grating your fingers. Ew.
My advice is to hold the microplane (or whatever grater you are using) still and move the zucchini over the blades. That way you are in control.
Done.
Now, take the three eggs
the oil
and the sugar and
mix together.
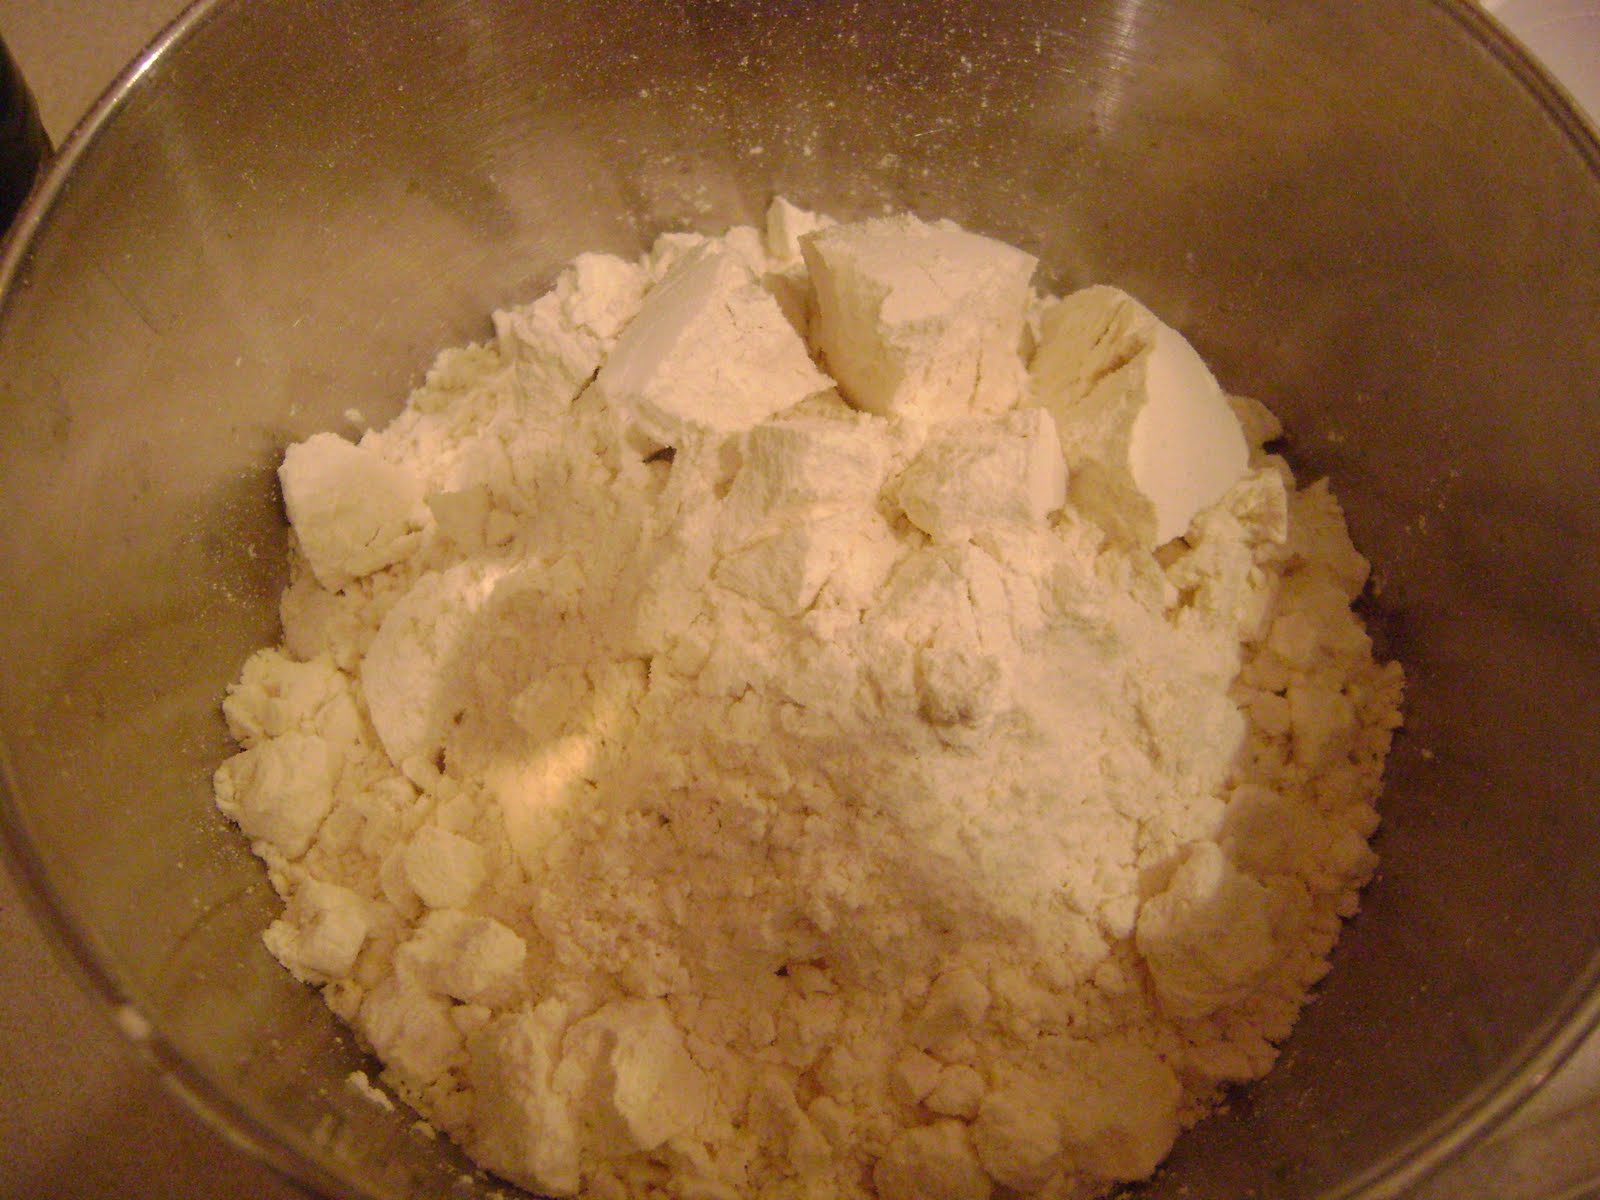
In a separate bowl, mix together the flour
salt
cinnamon
baking soda
baking powder
and nutmeg.
Mix.
Now, take the dry ingredients and slowly add some of it to the egg mixture
and then add some of the zucchini to the mix. Alternate until the dry ingredients and the zucchini is gone.
Mix well.
This will make 2 loaves. Make sure and generously grease the loaf pans. Nothing's worse than bread that sticks to the loaf pan. Bake for 1 hour.
Ta da!!!!
I made this bread at 10:00PM and then completely forgot to take a picture of a slice of the bread on a pretty plate. I'm so sorry. I'd take a picture of a slice of it right now, but my family has already devoured an entire loaf.

This bread is unbelievably delicious. The zucchini is the key to this bread being so moist and fabulous. Seriously, it's my favorite bread. You should definitely make some for your friends and family. They will totally love you more. I promise.

Enjoy!!

Thursday, November 11, 2010

Artichokes.

Most of you know my love for asparagus. There is no other vegetable that I love as much as that pretty green stalk of goodness.

But, another green veggie does come close. It's the artichoke.

In fact, I love the artichoke so much, I have this hanging in my kitchen:
(Carciofo is Italian for artichoke. I had to look it up after I bought it.)

While I do love throwing a can of artichoke hearts into pastas and other recipes, my favorite way to eat artichokes is to simply steam them.

Artichokes can be kind of pricey, depending on the time of year you buy them. I bought the artichokes pictured in this post for $1 a piece!!!! That is quite the deal.
I realize that artichokes seem to be an intimidating vegetable. Yes, each of those leaves have a little prickle at the end that can be painful, but you can always just snip off all the tips. But, I promise you, this is a delicious and easy side dish for any meal.
Take the artichokes and put them in a steamer. You can always boil them too, but we always steam ours. We steam ours for 30-45 minutes, depending on the size of the artichokes. Smaller ones only need about 30 minutes, but huge ones might need 45 minutes until they're tender.
We ate our artichoke with meatloaf. Artichokes are surprisingly filling, so when we have them, it's our only side dish.
All you do is take off each leaf...
dip it into the dipping sauce of your choice (we either have hollandaise sauce or melted butter with garlic powder and garlic sauce mixed in with the butter) (and, yes, that's my multi-vitamin)...
and then use your bottom teeth to get the artichoke "meat" off of the leaf.

Elisabeth is showing how she got all the white meat off the leaf.
Julia is too young to properly eat artichokes, but she felt left out and asked me to take a picture of her eating an apple.
Once you've eaten all of the leaves, then you're ready to eat the artichoke heart!
You take off all the little leaves that are left.
See all those pretty hairs? Those are called the artichoke's choke. It is called that because if you ate those pretty little hairs, you would...choke. It's pretty self explanatory.
So, take a knife and get off all those prickly hairs.


This is the heart. And it is the best part.
You can eat the whole thing once the choke is off.
I dip it in the sauce. Mmmm....
Elisabeth started eating artichokes with us when she was about 4. Now we have to buy her her own because she was stealing all of ours and there's nothing I hate more than someone stealing my vegetables.

Tuesday, September 28, 2010

Sweet Potato Casserole

It's officially fall!!

Which means, it's time for soups and stews and...

SWEET POTATOES!

I love sweet potatoes. I remember only eating them at Thanksgiving and Christmas dinners when I was little and then having to wait an entire year before getting to eat them again.

No more! I made this last week the same night I made my Gingery Apple Pie for some of our friends. They were a hit and, while I do plan on making them for Thanksgiving this year, I will be making them even on non-holiday dinners.

The ingredients:
2 lbs. sweet potatoes, peeled and chopped; 3/4 C. sugar; 1/4 C. evaporated low-fat milk; 3 Tbsp. butter, melted; 1/2 tsp. salt; 1 tsp. vanilla extract; 2 large eggs; 1/3 C. flour; 2/3 C. brown sugar; 1/8 tsp. salt; 2 Tbsp. melted butter; 1/2 C. chopped pecans or almonds. Preheat the oven to 350 degrees.

Okay, let's start with those sweet potatoes.
Peel them. Then stare at their perfectly autumn-y orange color. Chop them into big chunks.
Throw them into a large pot of boiling water. Boil for about 5 minutes, then turn the heat down to a simmer and cook for about 20 minutes until the potatoes are tender.
Drain the potato chunks and throw them into a mixing bowl.
Add the sugar...
the evaporated milk (and please make sure you only use 1/4 C. of it. I just noticed that part when I was posting this. Using the whole can would explain why my potatoes were candy like in sweetness...we still ate them all...)...
the salt...
the vanilla...
and the 3 Tbsp. of melted butter.
Mix at a medium speed until smooth.
Add the two eggs and mix until they are blended. Pour the potatoes into a greased 9x13 baking dish.
Now make the topping by mixing the flour, brown sugar, and 1/8 tsp. of salt.
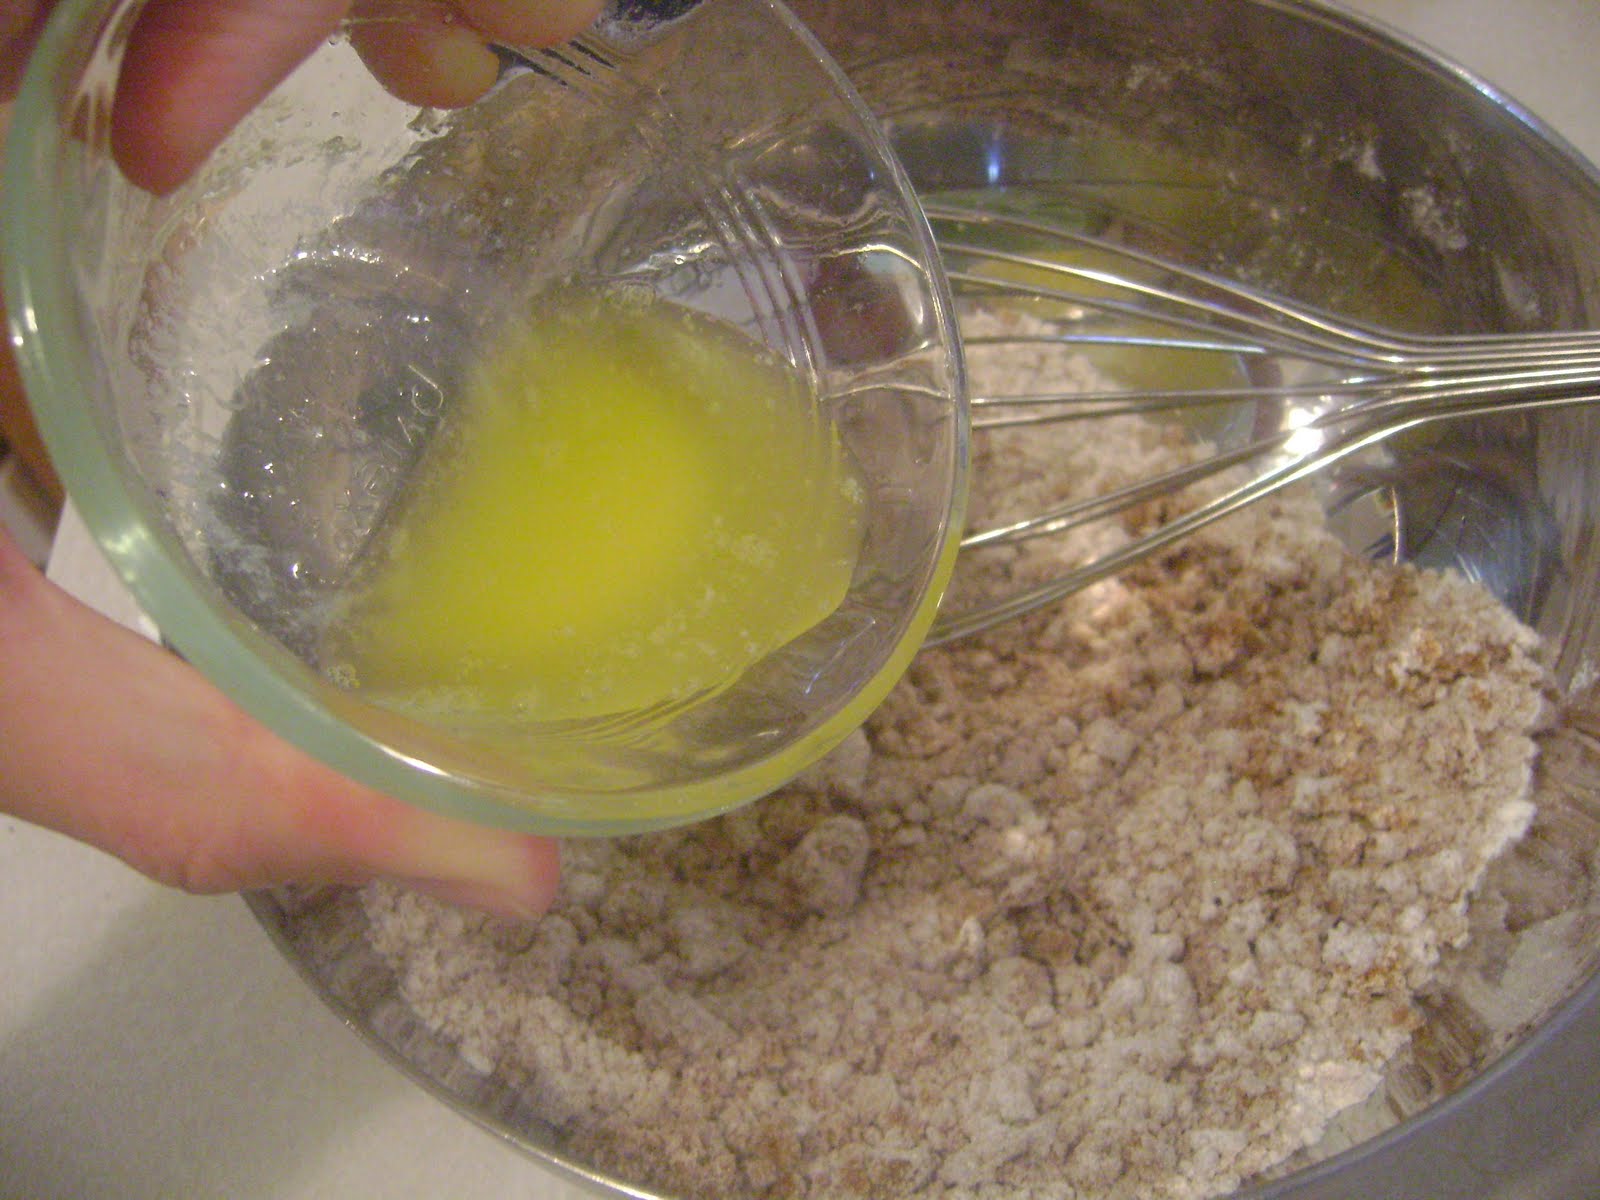
Once the dry ingredients are mixed, add the remaining melted butter and whisk together. Pour the topping over the potatoes as evenly as possible.
Then sprinkle the nuts on top.
Bake for 25 minutes. Then, taking the casserole out for a minute, turn the oven to broil. Once the oven's at a broil, allow the sweet potatoes to cook for 45 seconds until the top is bubbly. Let it cool for 10 minutes before serving so no one burns the roofs of their mouths.


Mmm....
We ate ours with grilled pork chops, salad and a fantastic potato salad that our friends brought to eat with dinner. And, of course, we had apple pie for dessert.

The potatoes were delicious! It was like eating a candy vegetable, which I now realize is because I added the whole can of evaporated milk instead of just the 1/4 C. But, I'll remember that for next time. Elisabeth deemed them the best sweet potatoes ever. Our friends loved them too and asked for the recipe.

So, whip up a batch for Thanksgiving, but I definitely recommend trying them out on a non-holiday dinner too!!!

Enjoy!